So, you’ve finally made up your mind. No more waiting around and no more deliberating — you’re going to build your first waterfall. Where do you start? What rocks should you get? How do you find the right area?
There are a ton of questions you’re probably asking yourself; we get it. Don’t feel overwhelmed. We’re here to help make your first waterfall a simple, headache-free process. When you see a waterfall out in nature, they are products of their environment. What this means is that there are nearly infinite sizes and shapes that you might stumble upon while traversing the outdoors. Unfortunately, you can’t rely on millennia of erosion to form your waterfall — you have to construct it yourself.
The first consideration is where you want to install your first waterfall. Here’s what you need to know. If the area you want to put the waterfall is flat, you will have a smaller waterfall. If the area has a slope, you have more to work with and an opportunity for a larger waterfall. You can certainly terrace an area of your yard to create a much more significant effect, but that’s entirely up to you.
If you are an experienced landscaper, this is certainly something you can yourself. However, for first-timers, we’d recommend getting a landscaping expert who has significant experience building water features, ponds, and waterfalls. Water features aren’t an easy task, and waterfalls are no different. So, while it may be tempting to skimp out on hiring a contractor, it can be costly in the long run. That being said, let’s get into everything you will need.
What You Will Need For Your First Waterfall
There are quite a few items you will need to construct your backyard waterfall. Some of these may vary if the design you chose requires different equipment or features — however, for a simple waterfall, this should be everything you need.
Stones are first on our list, and for obvious reasons. We’re building a stone waterfall after all. You’ll want a variety of shapes and sizes, and the amount of each shape and size will depend on what you want your waterfall to look like once it is finished. For a smaller, simple waterfall — you’ll need around 30-40 rocks of various sizes. This variety includes flatter rocks.
A pond liner will be necessary when you dig out your pooling area. You’ll want a reasonably rigid liner, as these are much easier to manage.
A submersible pump is next on our list. You can find one at a hardware store for a reasonable price. Get a reasonably nice pump if you don’t want to be constantly dealing with blockage issues.
Proper tubing that goes with your pump is a must. This tubing will connect your pump to your waterfall, and can/should be bought with your pump.
Some sand can be used as an adjustable base for your pond liner. You can use rocks for this as well, but sand gives you more freedom.
Some other tools you will need to get your waterfall just right are:
- Shovel(s)
- Garden hose
- Carpenter’s level
- A container for the tubing
Now that you have all of the necessary equipment and tools, it’s time to go to work, right? Well, there are a few other things you should take into account before you hop right into it. Once you’ve plotted out where you want your waterfall, you’ll need a certified electrician to install a Ground Fault Circuit Interrupter (GFCI) close by it. If you already have one installed, perhaps that can help you narrow down where you want to install your waterfall. You’re going to need to dig out a pond, so make sure that where you choose to dig doesn’t have any utility lines or piping under it.
Getting Started With Your Installation
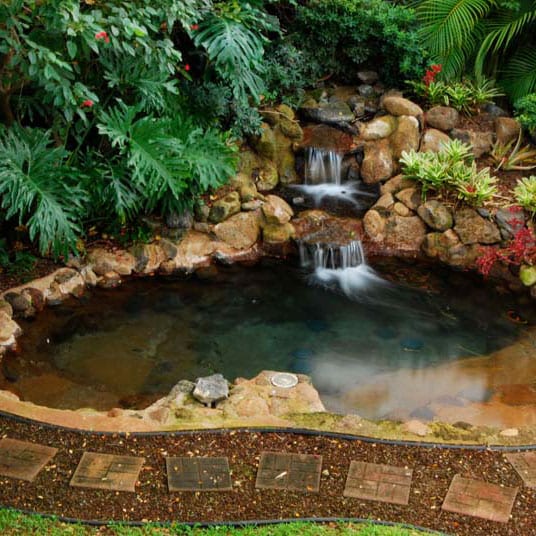
Creating Your Pond
Take your pond liner and use it as a guide for the size of your pond. Spray paint or mark out the perimeter on the ground where you will dig as a general guide. You can use the diameter as a way to measure how wide your pond will be. The depth depends on how much fill you plan on laying or if you are planning on adding fish or plant life.
Once you have dug out your hole, lay sand in the lower end of your hole as this will give you some wiggle room when it comes to leveling out your hole. About one inch will do. Place your pond liner in and make sure the edges are sticking out of the hole by about an inch, this will keep ground soil from getting into your pond. Level out your liner with your carpenter’s level, if it’s not even enough, that’s OK! You have sand at the bottom of your hole which should make adjusting for a nice even surface a breeze.
You can lay rocks around the base of your pond hole for a natural look and feel. This depends on how many rocks or stones you have, but it’s a good option, especially around the edges.
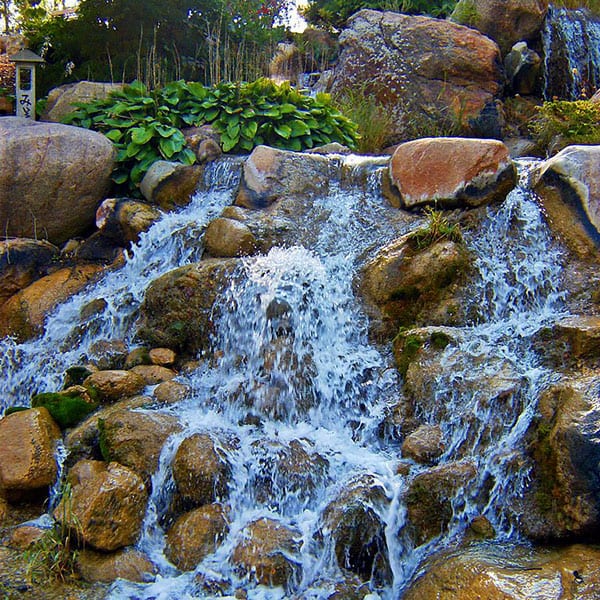
Creating Your Waterfall Cascade
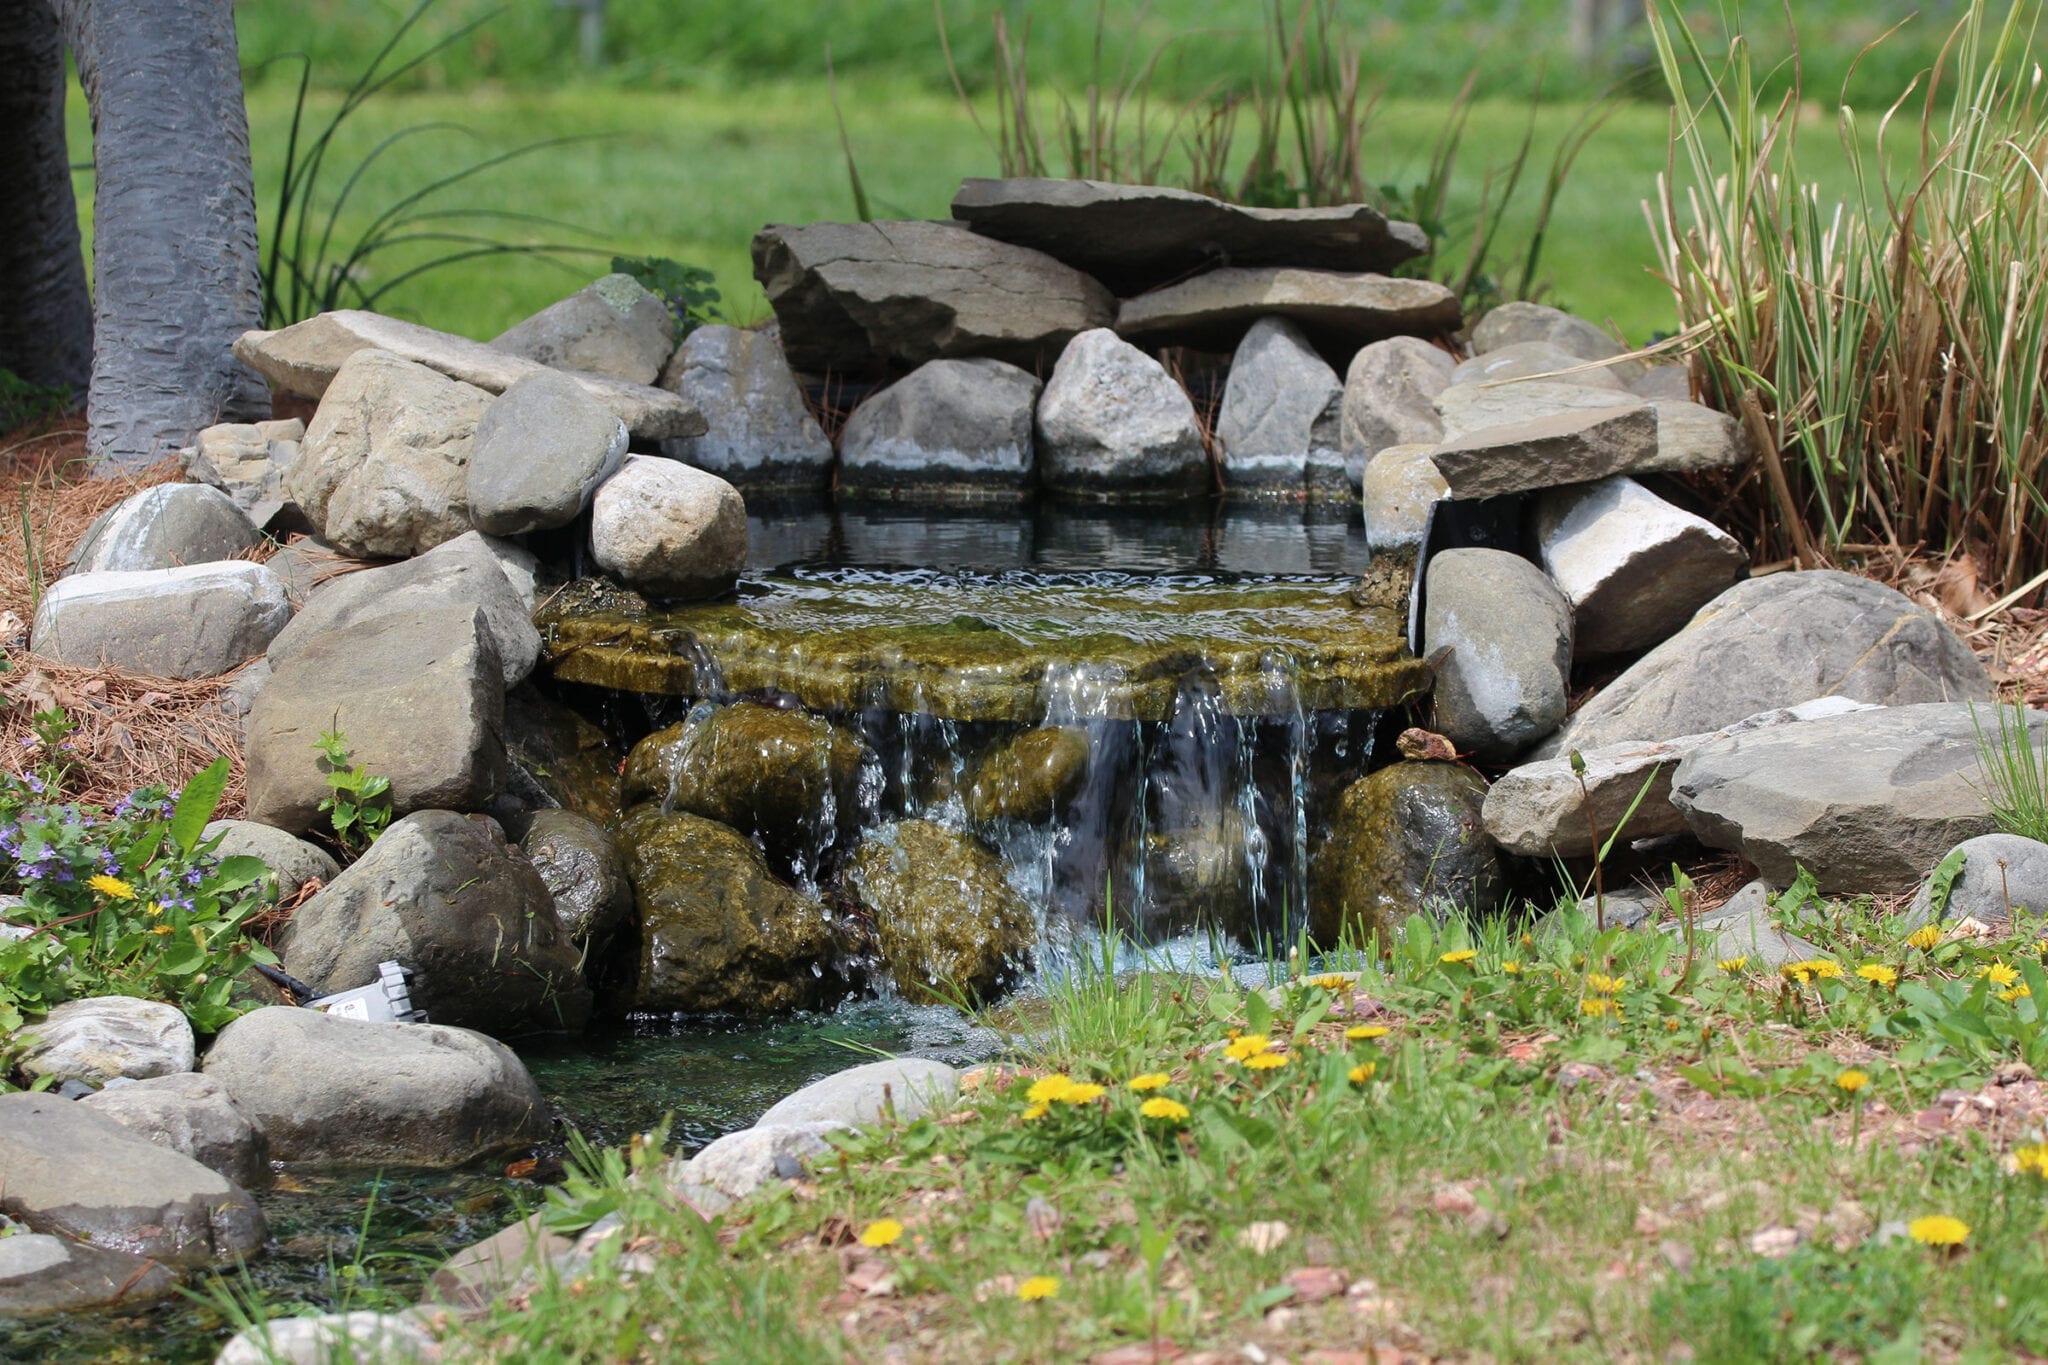
Here comes the fun part (and difficult part). Here, it’s all about your rocks and stones. The most important of these are your spillway rocks. These are your rocks that the water will “spill over.” The shape of these rocks is important, so pay close attention. Your spillway rocks need to be flat, sharp-edged, and somewhat square-shaped. The more rounded a rock’s surface, the more unpredictable the pathway of the water. For a backyard waterfall, you don’t want unpredictability. Also, flatter, square rocks create a more pleasant cascading effect.
You’ll also want to find spillway rocks that have a depression in the center of them. The raised edges create a natural flow as the water moves from one rock to the next, down into the pond. You want to find rocks and stones that direct the water where you want it to go.
Once you have selected your stones, you want to invert your container for your tubing and hide it within your rocks and stones. This will eventually be the placement of your waterfall feature. Create pathways or trenches where your tubing will go from its container to the pump. Give yourself more than enough tubing, in case the height of your waterfall turns out to be higher than expected. Don’t place any rocks or stones on the tubing in a way that will create clogs.
Lay your stones in the front and cover them with a plastic sheet or pond liner to prevent water from failing to reach the pond. Lay a long flat rock that is the width of all of the other rocks combined on the top of the pond liner/plastic. This longer rock should protrude toward the pond like an overhang. This is the shelf for the spillway rocks.
Create your cascading rock feature on top of your hidden container. Be sure to stagger your rocks and remember the shapes that we talked about earlier. The long flat rock we mentioned before is important here because it is the foundation for your spillway rocks. Place these on top. Encase your container in rocks if it isn’t already hidden enough and place rocks on top as well. Be sure to have access to your tubing before you do by pulling out a good enough length. Your spillway rocks should be slanted toward your pond. Pull your tubing to the desired height of the waterfall and find the desired spout site, hiding it as well as possible.
Fill it up with water and turn on the pump to see how the flow is working out. Make any adjustments as needed. Don’t worry; it’s tough to get it right the first time. You want your water falling into the center of the pond if possible.
Need A Hand?
As you can see, building a waterfall is no easy task. To be quite honest, it’s not a job for a beginner. That’s why we recommend having a professional handle your waterfall installation. Not only is this a time consuming and expensive project, but it also involves water which can be damaging to your yard if it isn’t handled correctly.
We’ll create completely custom waterfall features for your yard. Contact us today with any questions or inquiries.