It’s time to prepare your wood deck for the winter to protect your investment and keep it safe for those times when you have to use it.
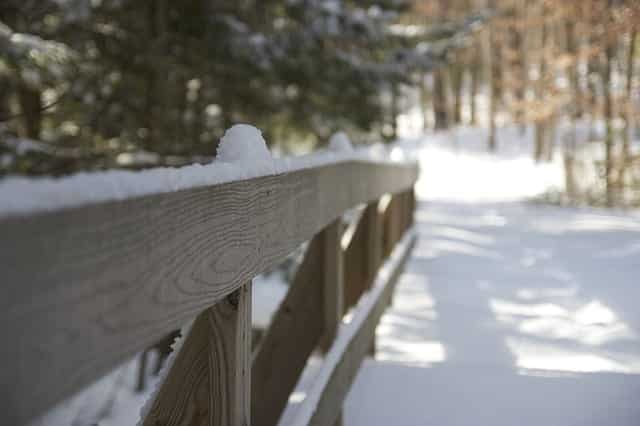
These recommendations also apply to wood outdoor furniture and landscape elements such as wood arbors, pergolas, and fences.
The age of your wooden structures will largely determine its current moisture content. As wood ages, it naturally dries out. This is part of the aging process.
Going into winter it’s common for wood decks and other structures to be quite dry. That could change over the winter if they are not properly sealed.
Taking on some moisture is fine but too much can encourage cracking, warping, and checking. All of these conditions can create situations that require repairs.
If your wood furniture is constructed of a high-quality hardwood such as teak, then your maintenance is reduced. In most climates, it’s not necessary to seal hardwoods but to instead focus on removing mildew, mold, and fungi.
All of these steps will ensure the longevity of your wood structure and keep it safe and functional year-round.
#1. Clear The Deck
Start by removing everything from the surface of your deck and railing. This includes furniture, planters, umbrellas, and any debris. Once the surface is broom clean you can give it a finer sweeping or use a blower to remove dirt and dust.
At this point, you’ll want to inspect the surface for necessary repairs. It’s not uncommon for nails to partly work their way out of the deck boards. You can carefully hammer them back in. If you aren’t skilled with a hammer, use a bolt as a go-between to avoid hammering dents into your decking surface.

#2 Make Necessary Repairs
The most common repair is sanding down areas that have splintered off. You can also use a wood planer. Doing these minor repairs on at least an annual basis will prevent them from becoming larger and less manageable.
Check lag bolts and screws used to secure railing posts and spindles. Tighten as necessary without being too aggressive. These fasteners will move over time due to the natural movement of the wood as it releases and takes in moisture over time.
Be sure to check under the deck to be sure fasteners and supports are secure and functioning as planned. While you are under there check for soil that may have moved into contact with the support. Even pressure-treated lumber is susceptible to degradation if it is in contact with soils.
#3. Manually Wash Deck Surfaces
Now it’s time to give your deck and associated wood surface a good wash. This may include attached planters, railings, and the wood furniture you remove in the first step. Use a special-purpose cleaner to remove and prevent the future growth of mildew, mold, or fungi.
This step is best accomplished with a stiff-bristle broom that will lift the debris without marking the wood. Doing this work manually provides a second-pass inspection that will catch a few things that were not previously noticed.
#4. Pressure Wash Deck Surfaces Clean
While pressure washing is indeed washing, it is a separate and later step for important reasons. Many homeowners start their deck winterization process with pressure washing. This is a mistake because the powerful blasts of water will make damaged areas worse. This is why the inspection and repair steps must come first.
Pressure washing gives decking and railings a nice fresh appearance that homeowners love. However, washing with a product that safely kills mildew, mold, and fungi is a necessary first step. That procedure is done manually to give the product time to do its job.
#5. Seal Your Wood Deck
Fall is often the best time of the year to seal a deck, provided the treatment is applied after several days of dry weather when the humidity is low. That’s one of the benefits of sealing later in the year. Cooler air will not support the higher humidity levels that Minnesota experiences in the warmer months.
However, if winter temperatures are not expected to be consistently above 50 degrees, you will have to postpone this activity until spring. This is nothing to worry about as long as you get to the job early in the season. You may wish to give it a light pressure washing before doing so, but that is not necessary.
Apply a high-quality, water repellent sealer to all wood surfaces using either a roller or sprayer. The application method may be determined by the type of product you use. Check with a professional to be sure. You’ll want to ask how much, if any, it will change the color of your deck and if it is safe to use the same product on your wood furniture.
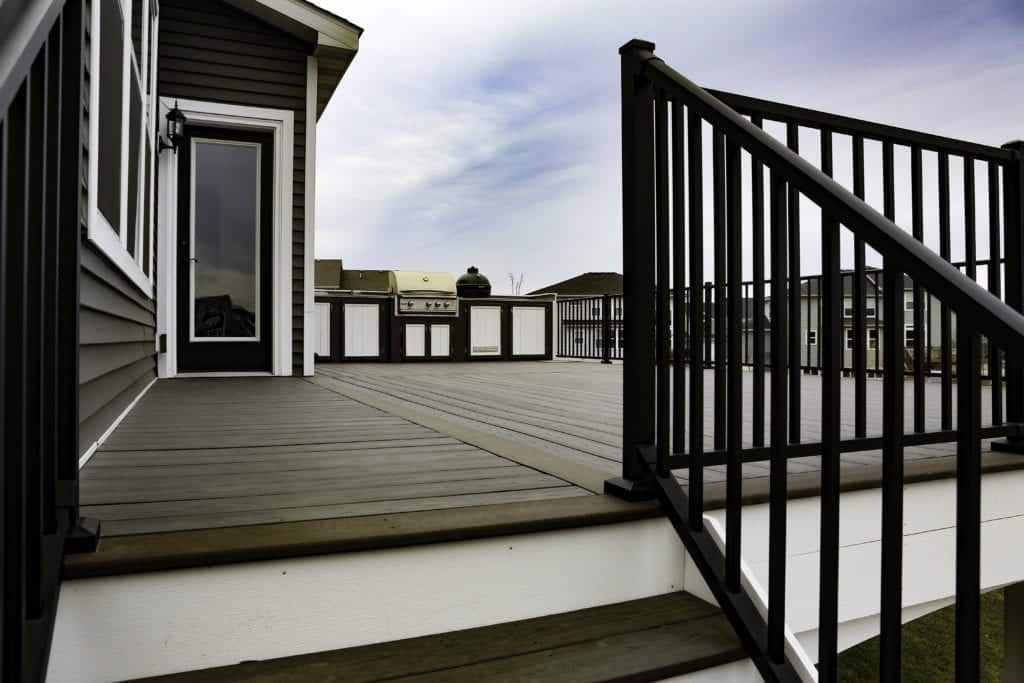
Winter Can Be Ideal For Building Decks
Many homeowners are surprised to discover that winter can be an ideal time for building decks. The only limitation is installing footings below the frostline. That only becomes a problem after months of sub-zero Minnesota temperatures.
As long as the foundation is in place by early winter, homebuilding proceeds without delay. The same is true for building decks.
One of the benefits of building your deck in the winter is that crews are able to work at an unhurried pace, typically without rain delays too. If you choose to finish your deck surface with composite or other wood alternatives, be assured installation is also not an issue.
When you’re ready to enhance your deck or build a new one from the ground up, turn to Architectural Landscape Design, Inc., a residential design-build company serving the Minneapolis/St. Paul area.
We design next-level outdoor rooms and decks that enhance the enjoyment of outdoor spaces and add value to Minnesota’s homes. Contact us today to talk about your ideas.